

Hyliand shield front. Nice. Yes I did say so myself :)


Hylian shield back. Too often I see these shields look great in the front and no effort on back, I wanted to do better than that.

My leather straps are actually grey Eva foam.

As usual, it all begins on paper.

Shield shape template. Only need half for perfect symmetry

Border, cut and glued together

Shield base shape ready for the border to be attached

These parts are cut and ready to go

Rough sketch of the eagle design

Hand drawn, on folded paper for that perfect symmetry I like so much

Cutting 0ut the eagle design

Eagle cutout. My foam was too thin so I doubled it up, that’s why you see teal and purple

Making sure the eagle symbol is the right size for the shield
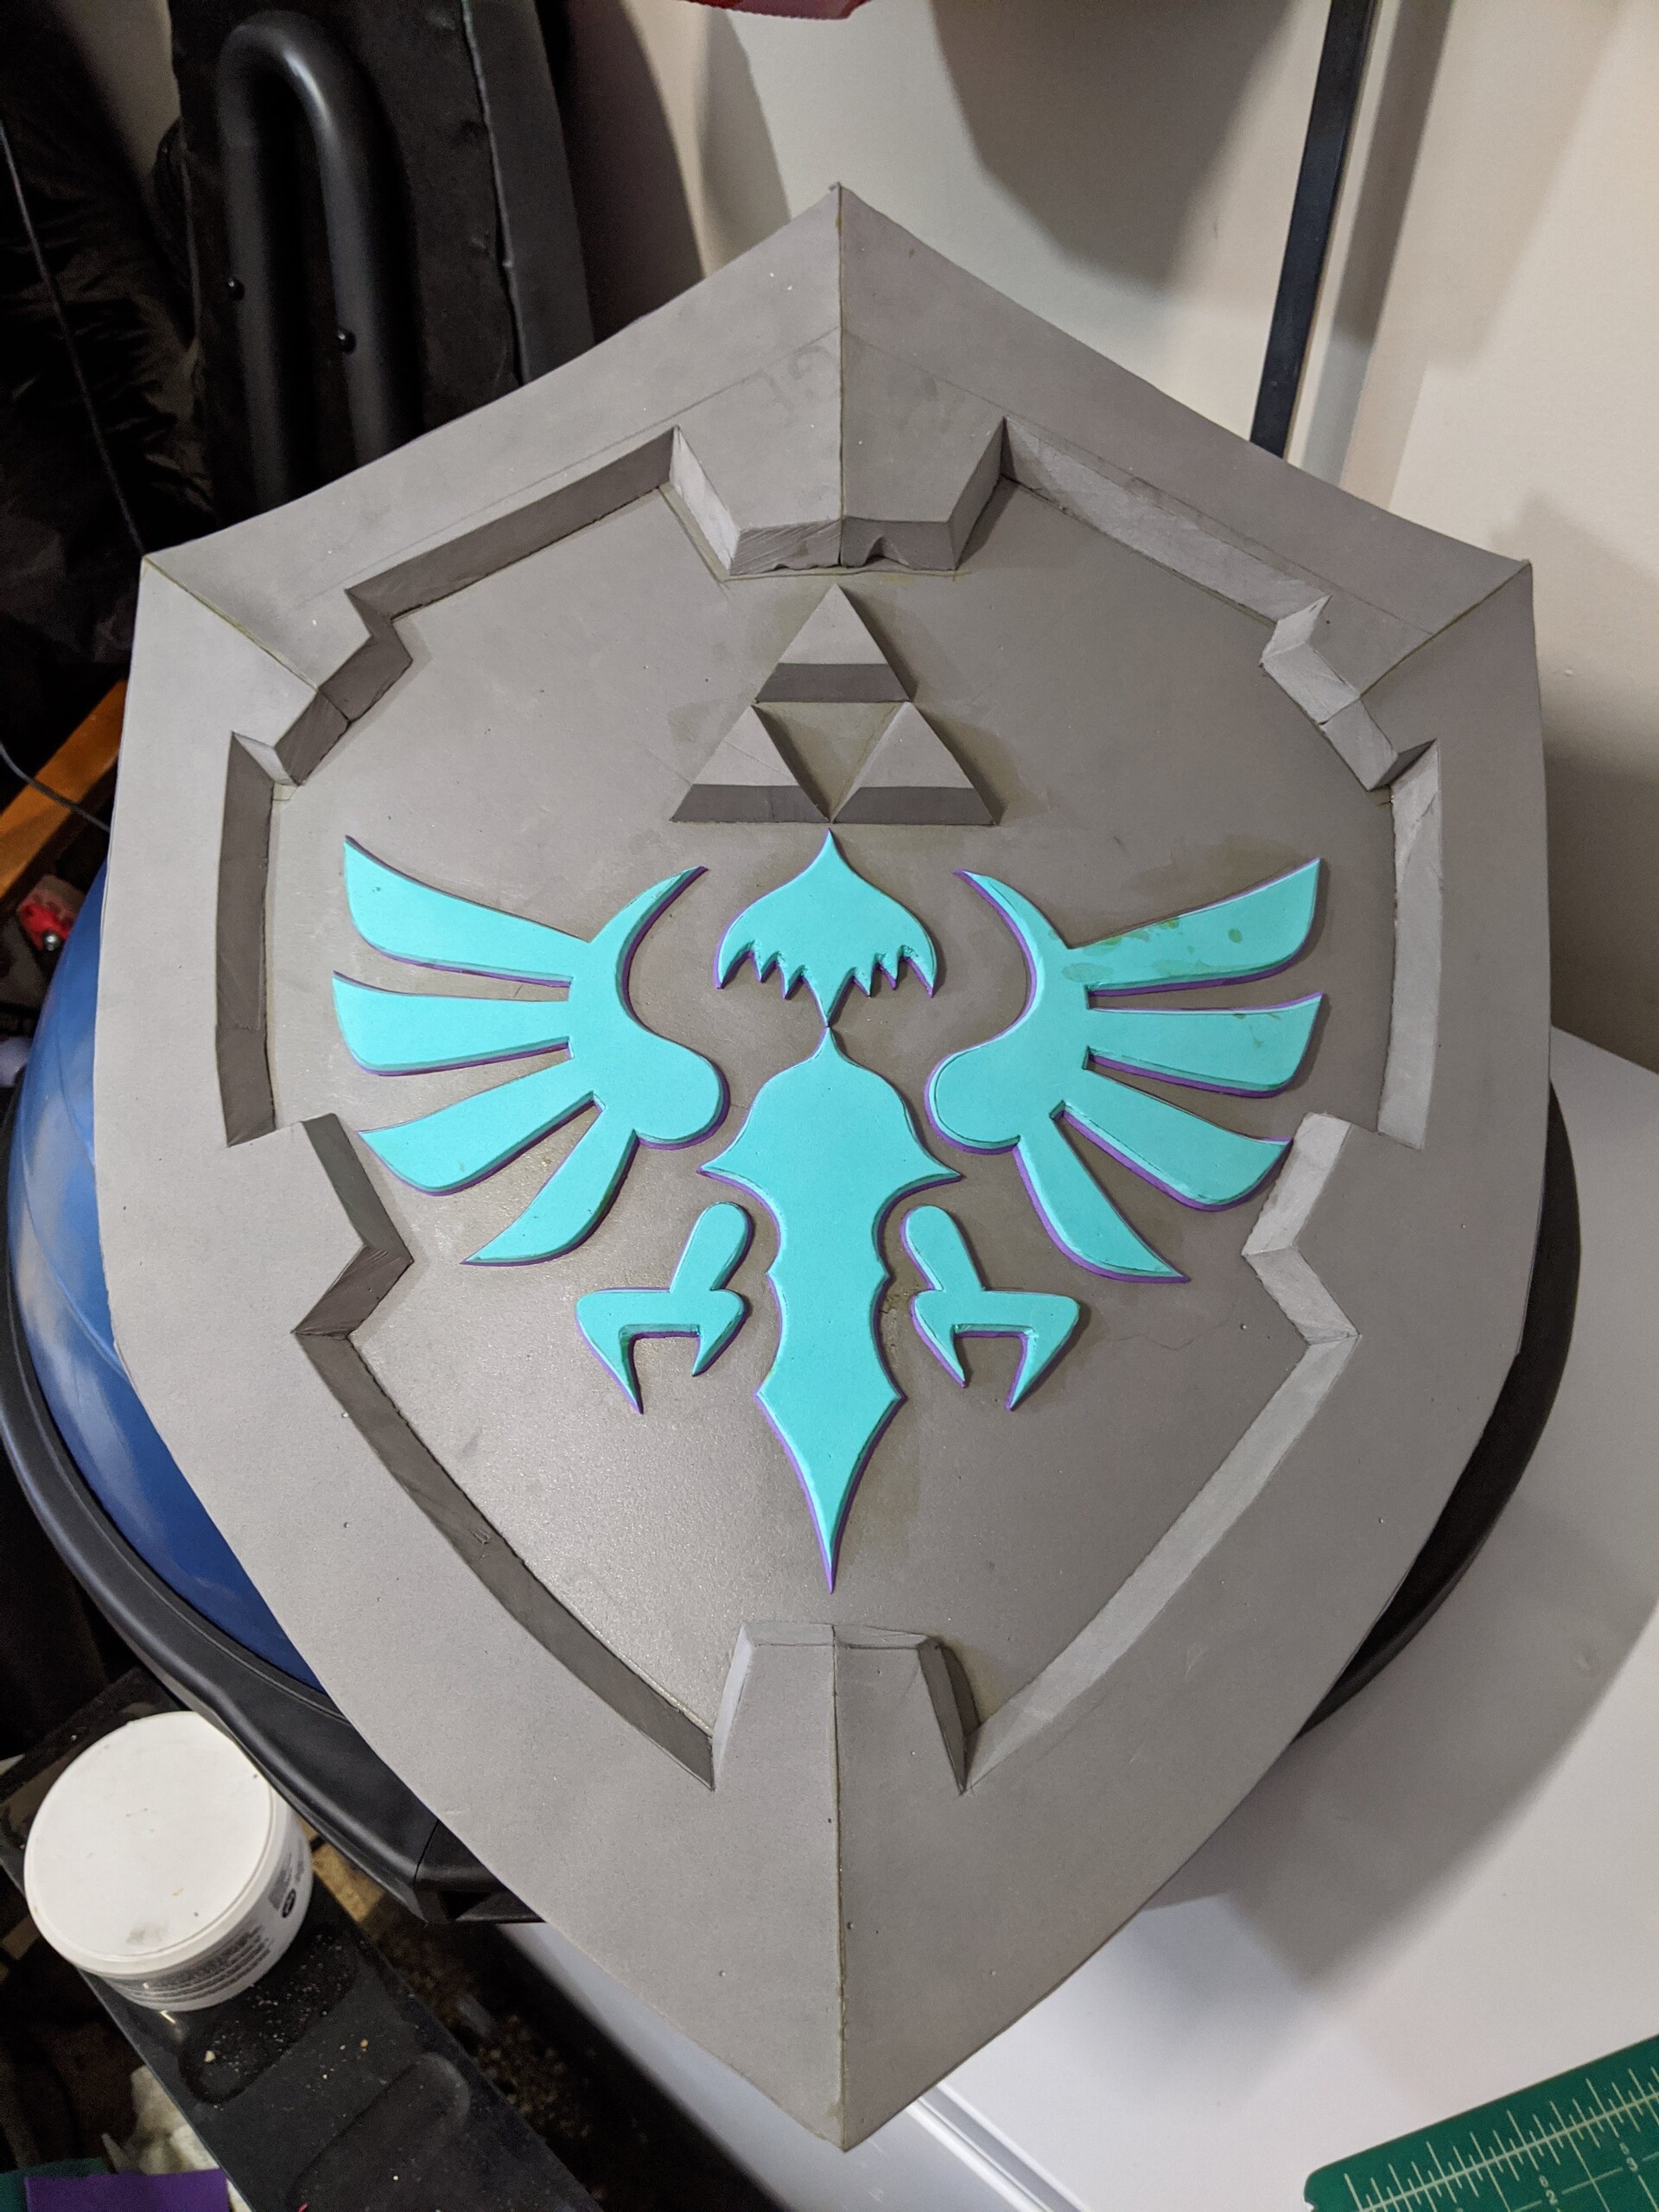
Fitting

3d printed these details… I was not happy with any of my foam attempts to cut or carve this shape so I modeled it on my computer and just printed that f'er!
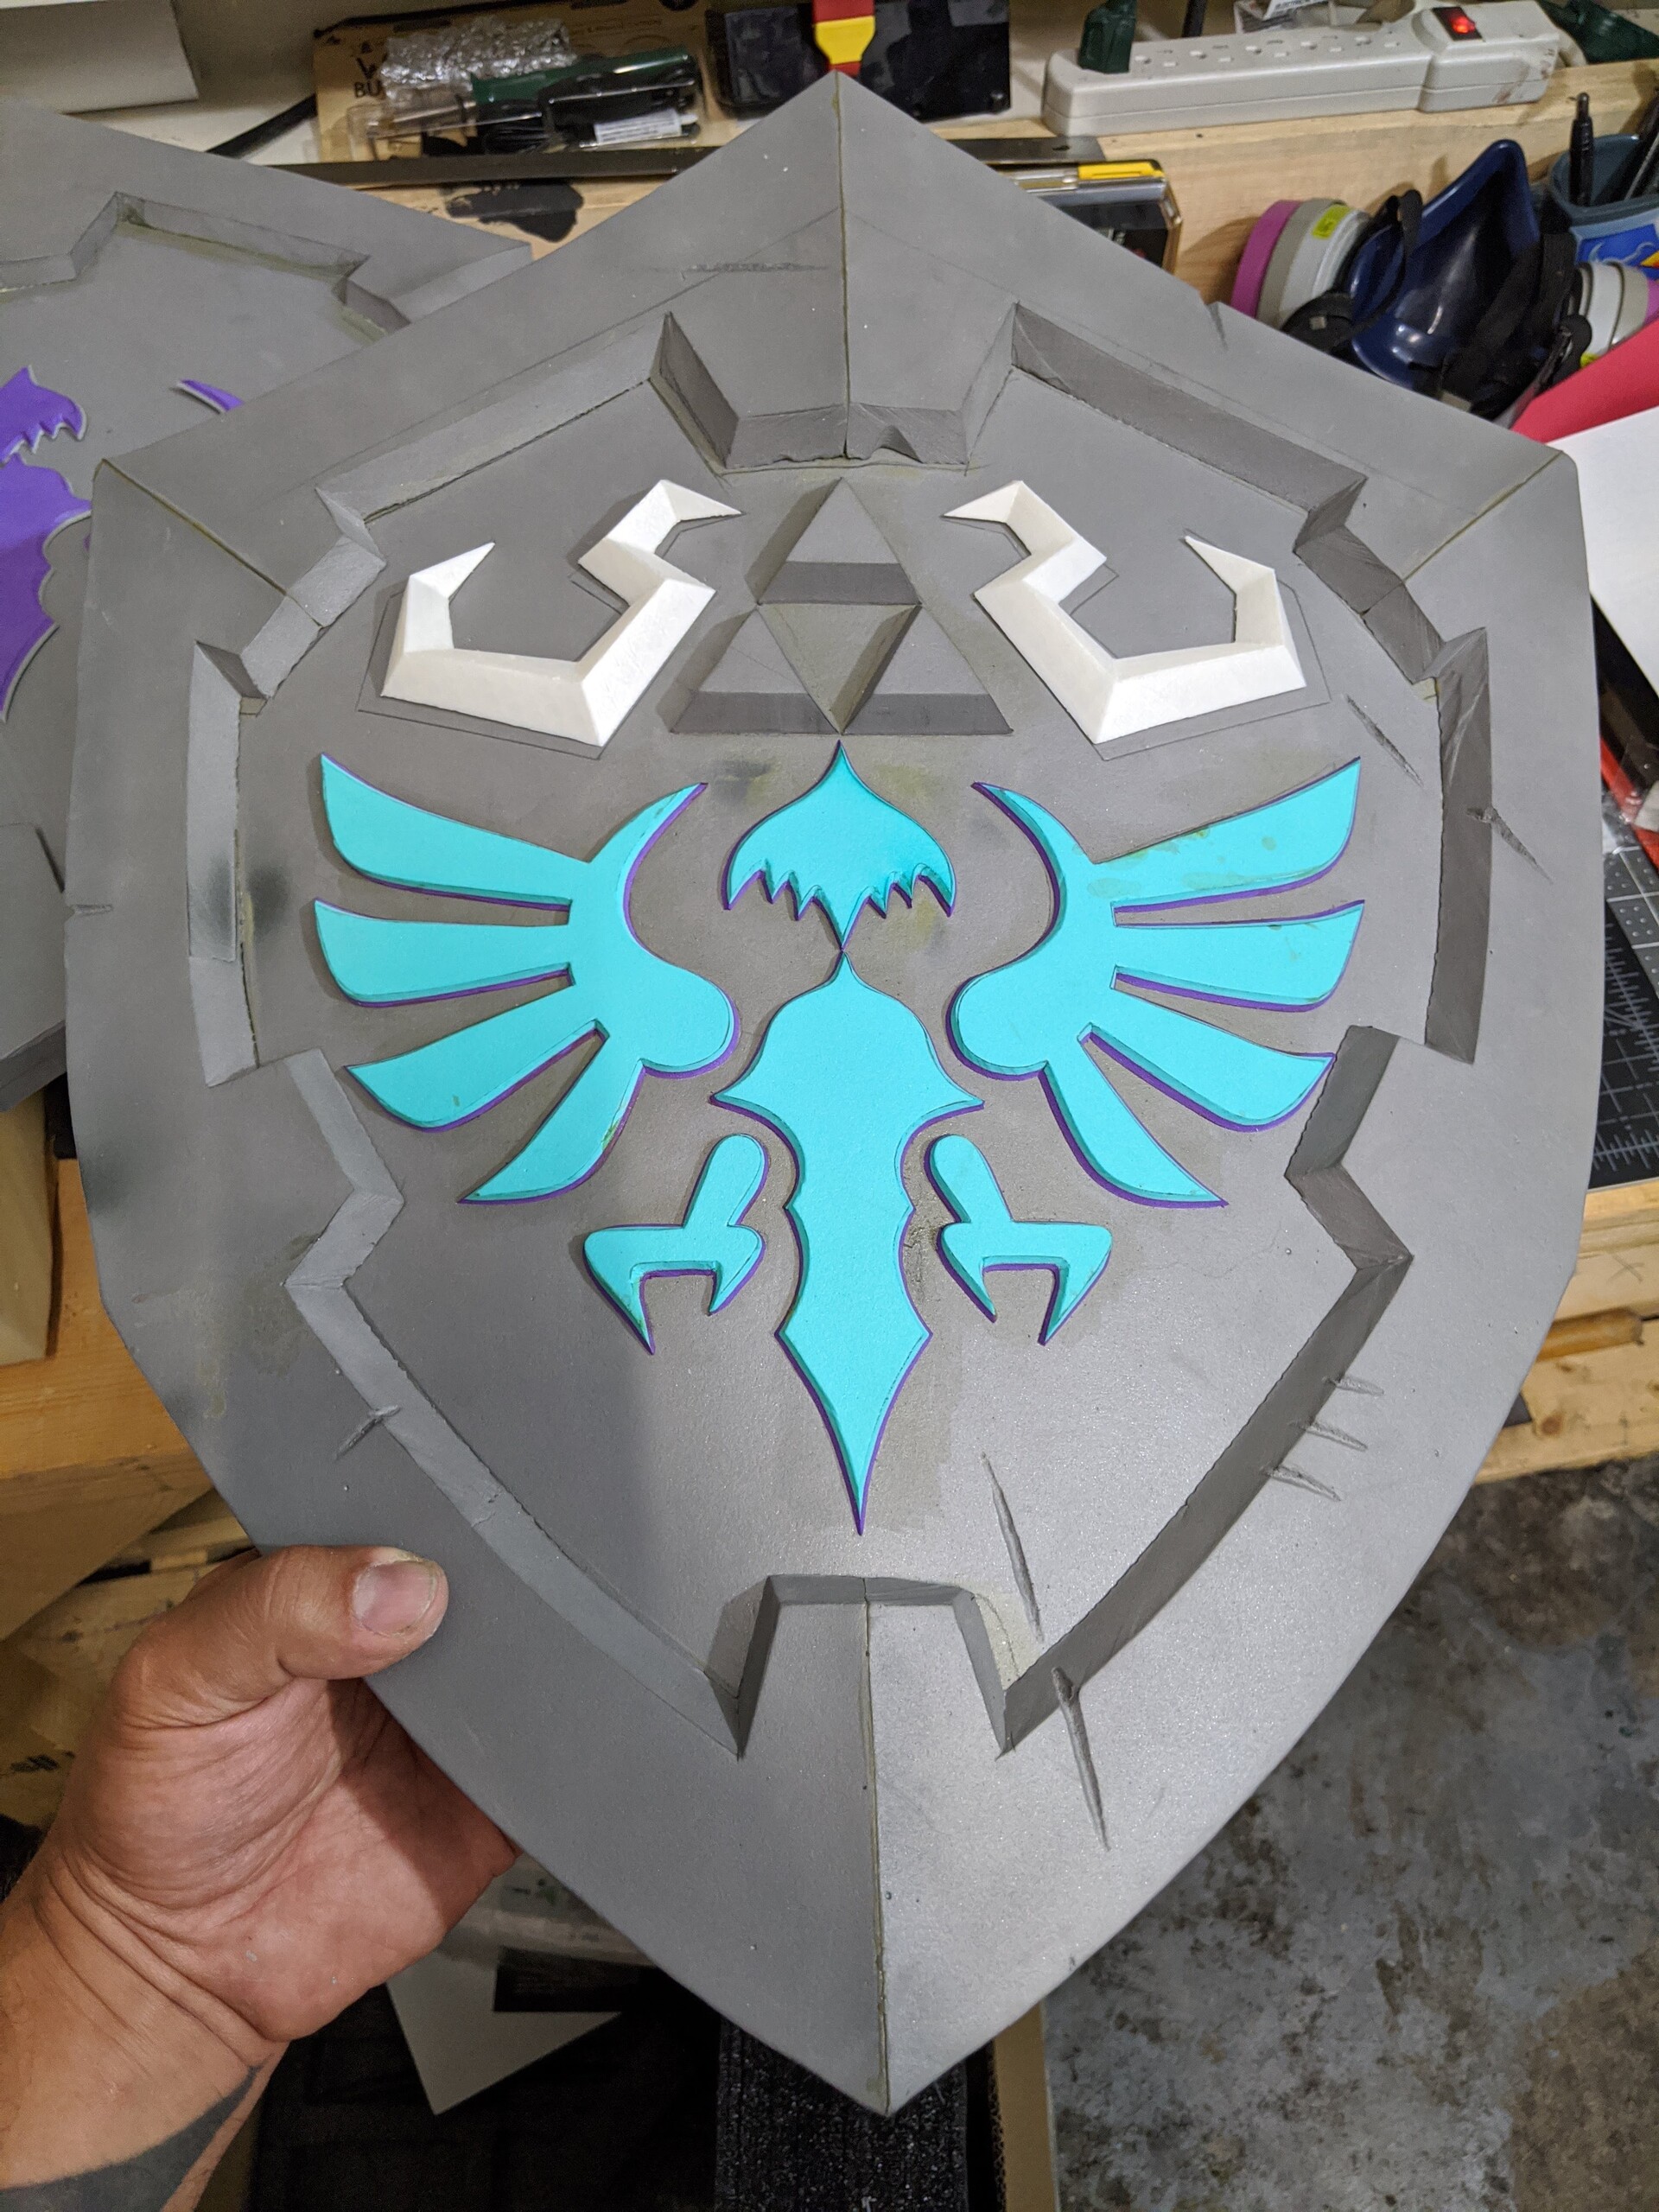
Yes, that'll do, pig.

Sketching out the wood grain

Carving out the wood grain with… I used a wire brush attached to a high speed drill and scraped the smaller details while I carved the larger shapes with a soldering iron

Different grain style, same techniques

Grainy

Here’s an angle that shows some of the grain detail depth

Wood grain done and metal trim strips added

This foam strip is going to be a leather strap, drawing in the stitching area

Solder iron to burn in the stitch lines

I hot-pressed foil onto the foam to bake in some fake leather texture

Foam strap with fake stitching and leather grain appearance cooked on

Finished leather look on the foam strap. Damn, looks like I know what I'm doing, huh?

I decided to try a technique I saw for wrapping leather around tool handles, so I'm wrapping foam strips onto the handle to fake that leather look

Finished result with foil-pressed leather grain before painting it

“Leather straps”

Back side fully functional. Two straps and a handle, this feels solid and good swinging it around!

I made a bunch of these for sale on Etsy. All out of stock but if you contact me I might be convinced to make another.

Front side coated in my special primer coating

The back with my primer coat concoction. Doing different strap styles.

First painting pass, the background color.

Adding darker colors to the concave areas for "dirt" and wear.

Gotta paint black before you paint silver, or your silver will be shite.

Inner details are silver and looking good, time to do the rest of the silver

All silvered up
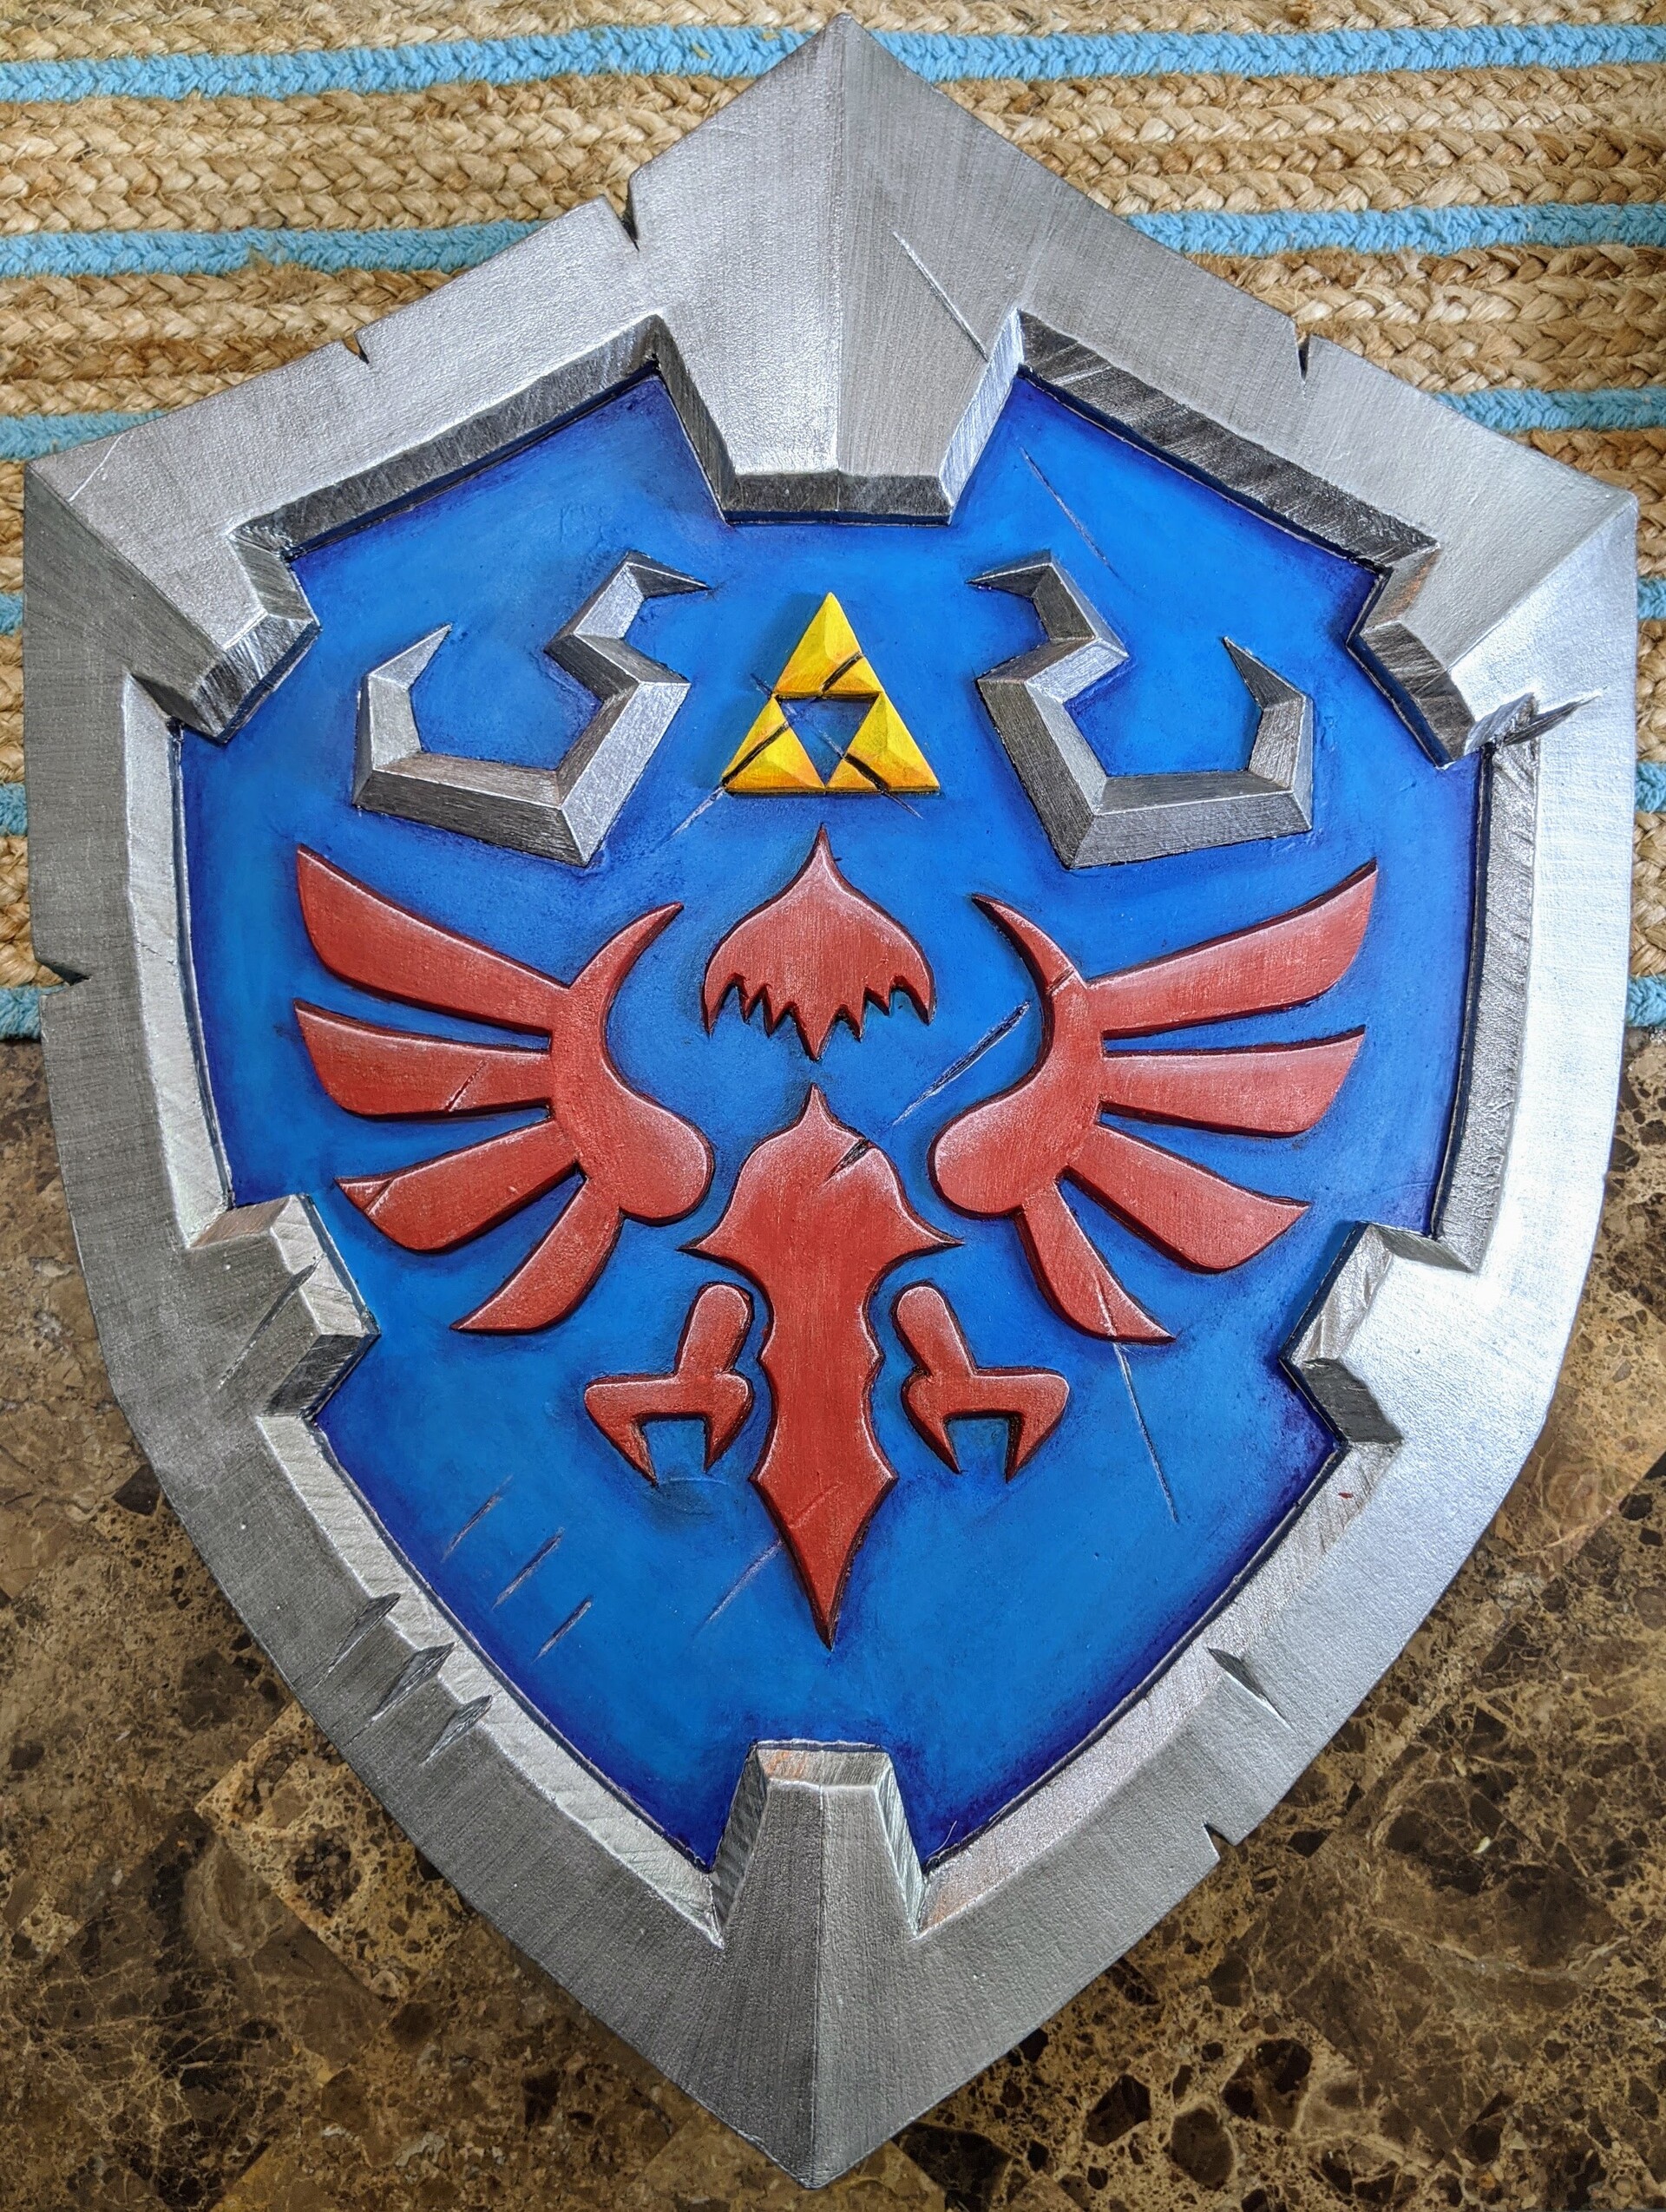
I painted silver under the red and yellow to give it an extra oomph. Red is a pretty transparent paint and the yellow needed to be "gold" so the silver underneath worked out great!
Who doesn't need a little protection these days? Take this shield with you wherever you go and I promise you'll never have a problem.*
*Does not defend against real swords, bullets, or other weapons or attacks of any kind.**
**MIGHT work against fists if you're up against a scrawny opponent.
BUY IT on Etsy, or contact me directly for $120 OFF the etsy price!
https://www.etsy.com/listing/958634674/legend-of-zelda-hylian-shield